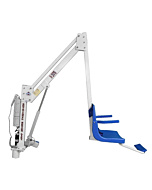
Global Lift Commercial Series Retro Fit Anchor System C-375/C-450
Global Lift Corp
- Authorized Reseller
- Fast Delivery
- Easy Returns
MPN:
Global Lift Commercial Series Retro Fit Anchor System C-375/C-450 - Each - #GLCRFA
$386.13
Description
Stay ADA Compliant! Lift Anchor System for Commercial Series C-375 and C-450
The Global Lift Corp Retro-Fit Anchor System provides a steady and secure base for your Commercial Series pool lift. Install with easy to follow step by step instructions. A complete kit, this Retro-Fit Anchor System includes a simple template and the nuts and bolts you need to get your anchor set up. This is retrofit system was engineered for the C-375 and C-450 commercial models.
The 2010
Standards for pool lifts require lifts to be fixed and to meet additional requirements for location, size of the seat, lifting capacity, and clear floor space. Therefore, if a business can provide a fixed lift that meets all of the 2010 Standards? requirements without much difficulty or expense, the business must provide one.
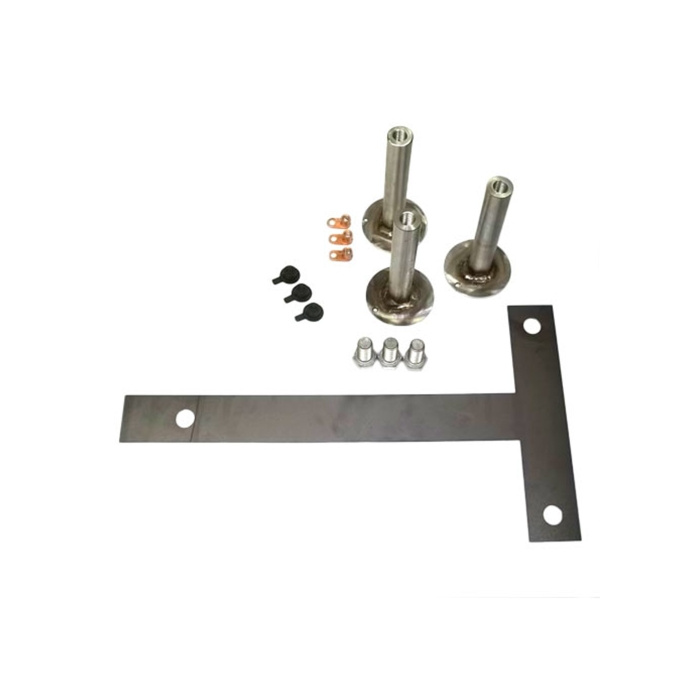
Global Lift Commercial Series Retro Fit Anchor System Features:
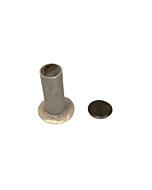
- 3 ? Threaded Anchor?s with base
- 3 ? ?? Nuts
- 3 ? ??x 1? Bolts
- 3 ? Bonding lugs w/nut & bolts
- 3 ? Plastic Caps
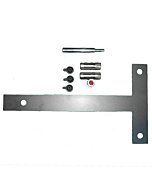
- 1 ? T ? Shaped Template
Global Lift Commercial Series Retro Fit Anchor System Instructions:
-
STEP 1: Locate the retro-fit anchoring system template (included and shown above) Once you determine where your lift is going to be located place the template down so you can mark on the concrete where you will need to drill the holes.The dimensions are as follows: Front of the Template must be 12? to 17? from the water?s edge, also make sure that the front holes are parallel to the pools edge. Distance must be 12? to 17? From water?s edge Front Holes Hole?s parallel with pool?s edge ***NOTE: The installation of Global Lift Corp?s anchor system?s are a guideline of minimum requirements. In some states or municipalities they may require additional steps due to their local codes or ordinances.***
-
Step 2: You will need a 4? diameter core drilling bit. Make sure you have accurately marked your hole location to be drilled. After drillingYour holes they must be 6? deep and flat on the bottom of the hole. CleanOut the debris and make the holes are free from concrete. Double check your measurements they should be: Front holes 8? from centerline from hole to hole . The measurement from front to back should be 15? from Centerline of each hole
-
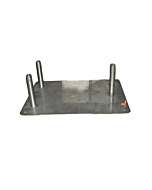
STEP 3: Assemble the template with the 3 threaded anchor rods. Place a ?? nut on top of each threaded rod, then place the template on top and bolt Down with the ?? bolts provided (refer to picture A). Place the assembly in your drilled holes as shown in picture B. make sure that the top Of the anchor rods are flush and level with the existing concrete, also with connecting the Bonding lugs to the bonding grid according to the local codes and ordinances
-
STEP 4: Cementing the anchor in the concrete. You will need 20lbs of Quick dry Anchoring Cement (Commercial Grade Quikrete Exterior Use Anchoring Cement) to complete the installation. You can purchase at any hardware store in your area. Read the label and follow manufacturer?s instructions. Start pouring into the 3 holes evenly until you fill them up, make sure not to overfill the Holes so that it does not create more work to scrap excess concrete off. Let the concrete set for 24hrs, Remove the template then sand the area with a sand stone to smooth the finish. Make sure the anchor?s are flush with the concret
Returns: All returns subject to ActiveForeversreturn policy and a 15% reprocessing fee. Please call Customer Service for a RMA (Return Merchandise Authorization) Number. Unauthorized returns will not be accepted.
Please refer to ActiveForeversreturn policy for more detailed information.
Related Searches:
Additional Information
More from Global Lift Corp
-

-
 Global Lift P-375 Proformance Series ADA Pool Lift$4,077.71 - $4,103.82
 -
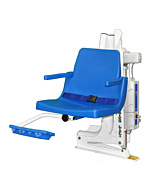
 Global Lift Commercial Series Portable Lift 375$4,394.78 - $5,820.50
 -
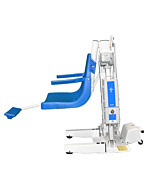
 Global Lift Commercial Series Portable Lift 450$5,126.65 - $6,533.36
 -
 Global Lift Superior Series Lift W/ Out Anchor$3,826.43 - $3,914.53
 -
 Global Lift Rotational Series Above Ground R450A$6,362.28 - $6,485.84
 -
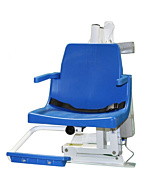
 Global Lift 375 Rotational Series ADA Pool Lift$4,976.95 - $5,079.13